Multiple images
For this unit I have been set the task of making a series of pictures that links to the theme of multiple images
|
Photoshop experiments:
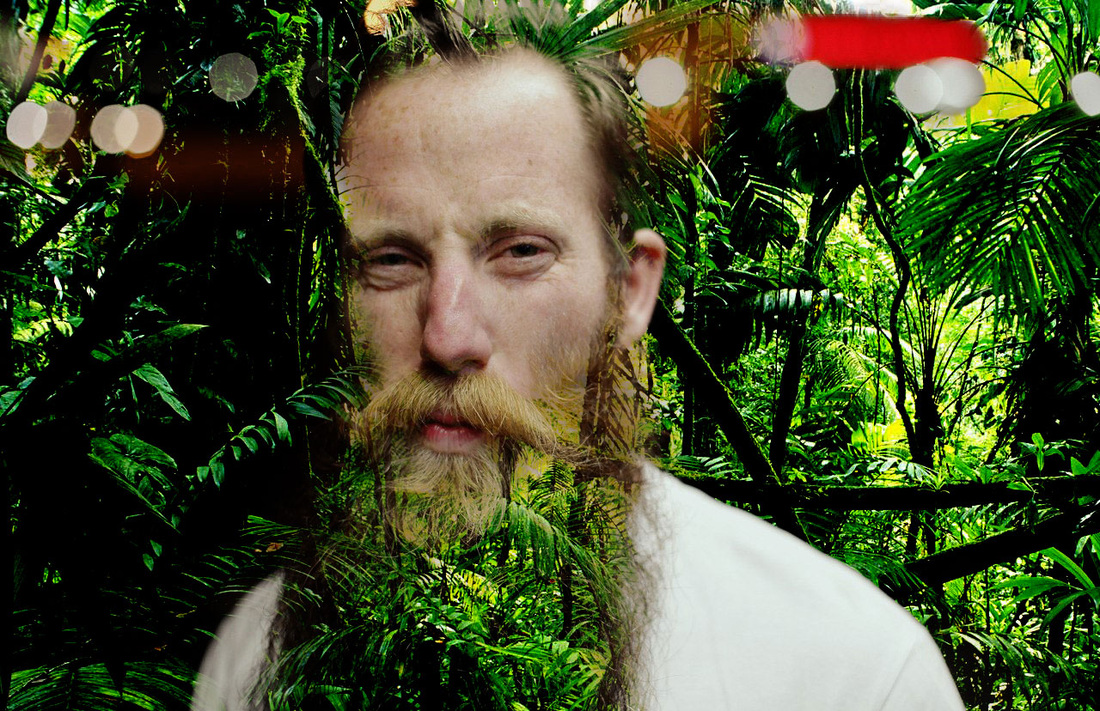
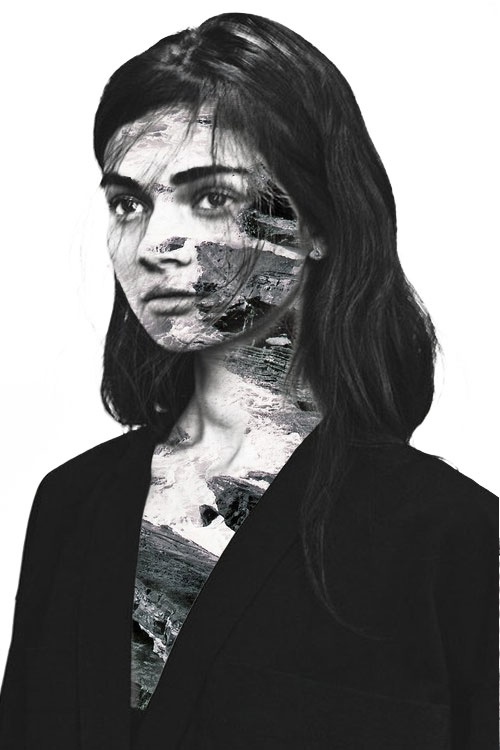
Below are three images I made experimenting with photoshop. This is the first time I have used photoshop so they're not very good and I dont think I'll use this process again for this unit because I'm not very good at it and I dont really understand how to use Photoshop. My favourite of the three pictures is the middle one, I really like how the the background image blends with her facial features. This one worked best because I had got the hang of how to merge two images together and the tones in the image were the same. The other two didn't work as successfully because I chose images which didn't go together nicely and also I was having trouble working out how to blend the pictures effectively so that they look good.
|

|
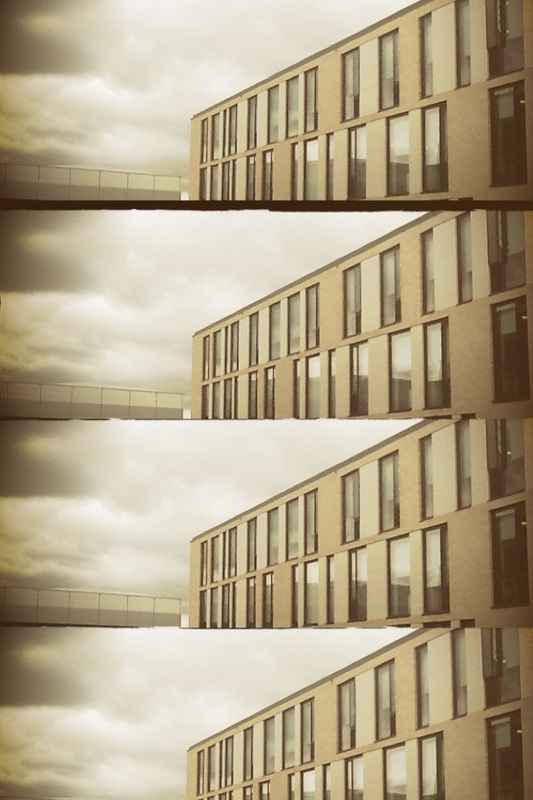
multiple shots:I have decided to use the Lomography 4 lens Film Camera to take some images for this unit. But before I used that camera I took a few practice photos using the Andigraf app on an iPad. This allowed me to see what my 4 shot photos will turn out like.
My favourite photos are the two below, I like the colours and the composition of the school building photo and in the tree picture what I find interesting is the way the tree leaves look as if they have been blended together to make a mega tree |
|
|
|
These are all of the un-cropped pictures that I took on my Lomography camera.
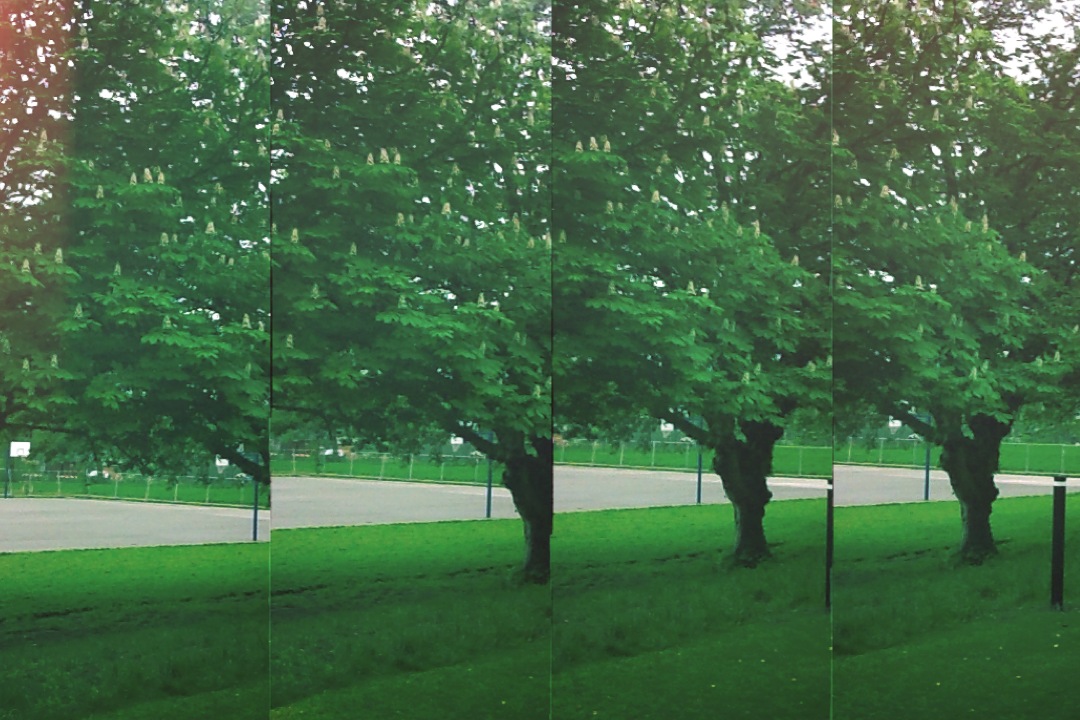
final pieceFor my first final piece I decided to use a super sampler four shot Lomography camera. This is because each 35mm frame is separated into four slots where a different image is taken over the course of a few seconds to create a kind of time lapse. I had hoped that each photo would have four photos of the same subject but when I got the film developed I saw that only two of the four frames were of what I intended to take. This happened because the camera was quite old and faulty, so when I wound on the film the camera would take two images automatically.
This is why the two halves of my pictures are different. I am quite disappointed with the way the pictures turned out because I had hoped for a perfect four frame sequence. Despite this I printed out eight of my favourite pictures and cut off the sections that didn't work, I then mounted them on card and arranged them in strips. Although through technical fault this final piece didn't go to plan, overall I am satisfied with the end result. |
|
Wires
The brief was to photograph all of something on my street, so I decided to take pictures of the telegraph pole and it's wires. My Initial Idea for these pictures was to make a joiner similar to one of David Hockney's. I was going to have the telegraph pole in the centre with the wires coming out of it. But after printing out the pictures and attempting to make it work I realised that I hadn't made enough pictures for them to fit together fluently, so instead I arranged them in a grid.
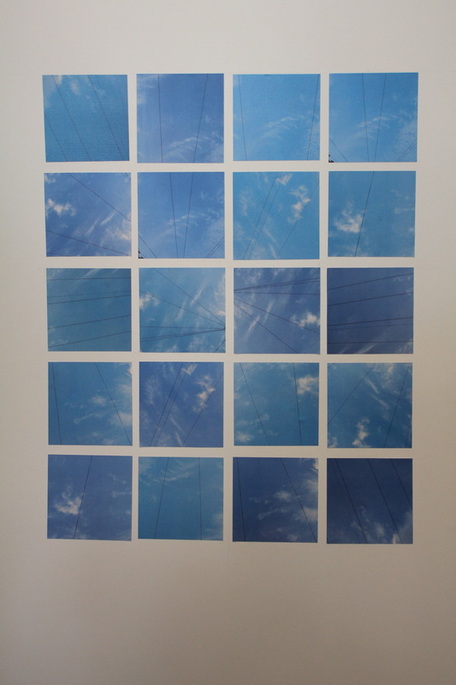
final piece #2This project started out as taking a picture of all of one thing on my street for a homework. After my initial idea didn't work I took out all of the pictures that had a section of tree, house or telegraph pole in. I then cropped each of the images square so that they would fit nicely in a grid.
Doing this made the pictures quite abstract because they were just black lines against the sky and square is an unusual shape for a photograph. I arranged them on the mounting board so that it looked a bit like the wires were coming out of the centre and they joined up with each other. Arranged in a grid pattern my photographs appear to cut the sky into twenty pieces, with the wires dividing it even further. Despite having to change my idea, I think this final piece works well and it fits the theme of multiple images. To improve it I could have gone back and taken enough pictures to make a joiner to compliment this final piece. |
|
