Pinhole Camera.
Here is a step-by-step guide of how to make a pinhole camera
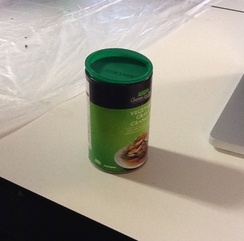
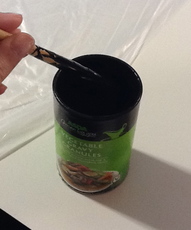
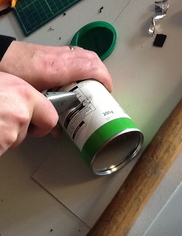
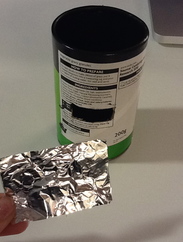
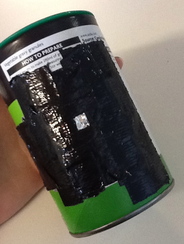
What you need: - 1 container (e.g. tin, gravy container) - 1 sharp craft knife - Black duct tape - A small, thin pin - Black matt paint - a paint brush - Tinfoil - scissors Step 1: Make sure your container has a removable lid and that it is light proof. Step 2: Paint the inside of your container with the matt blkack paint and also the outside your tin is thin. This will stop light from bouncing around the inside to get a clear image. Step 3: Then cut a rectangular hole half way up the container, about 2cm. Step 4: Cut a square piece of tin foil, just bigger than your rectangular hole and tape it over, make sure you leave a gap where you can pierce the foil with a pin. Step 5: Next you need to make a shutter flap out of card or tape that can open and close as you need it. Make sure that it completely covers the pinhole. Step 6: Cut a piece of photographic paper to fit inside your container. You must do this in a darkroom (under the red safe light).Place it inside your container and replace the lid securely and close the shutter. the paper should stay completely still throughout the exposure. Step 7: Take the camera outside and place it somewhere stable with a view of an object. Open the shutter and expose the paper. Make sure that you do not move the camera during the exposure. Depending on the size of the pinhole and the brightness of the light your exposure can be anything from 30 seconds to 5 minutes. Make an educated guess and use your first image as a guide. Step 8: Close the shutter at the end of the exposure time and take the camera back to the darkroom. Carefully remove the paper and place it in the chemicals:
|
|
|
|
Mabel Oddessey is a photographer who uses pinhole cameras to photograph musicians whilst playing their instruments. She uses pinhole cameras because the shutter is open for a few seconds, this allows her to capture the movement of the musicians to create a blur. I like her images because the images show traces of time rather than just a single still moment.
|
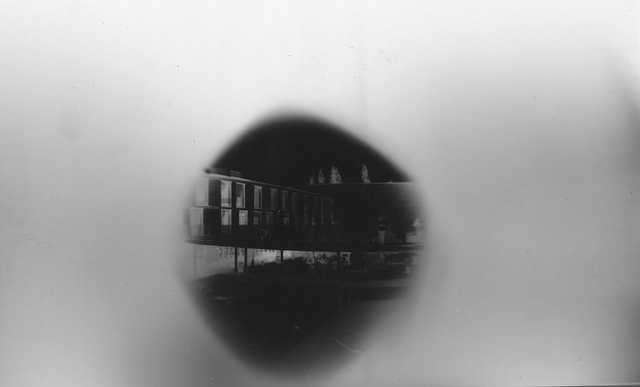
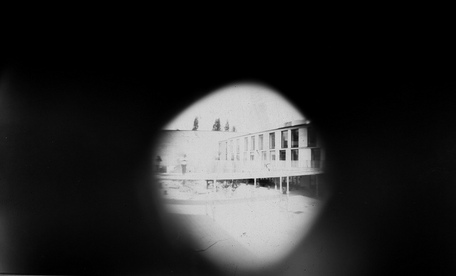
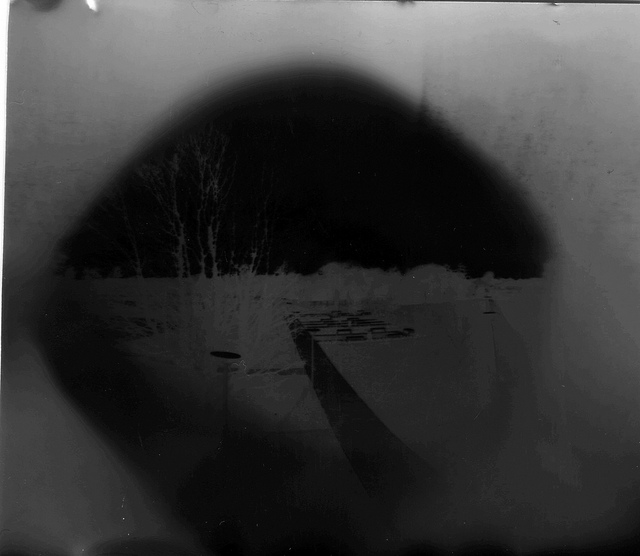
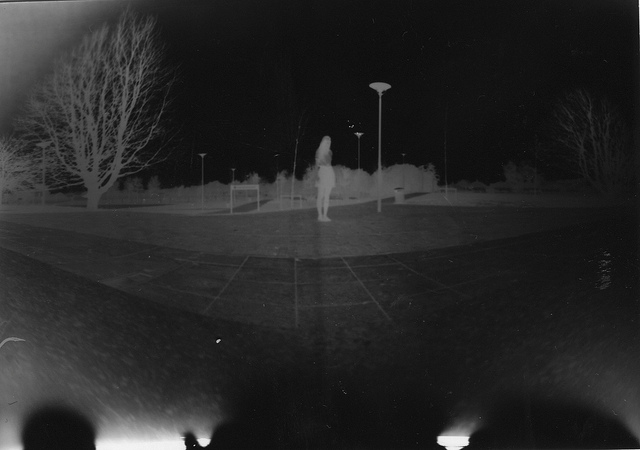
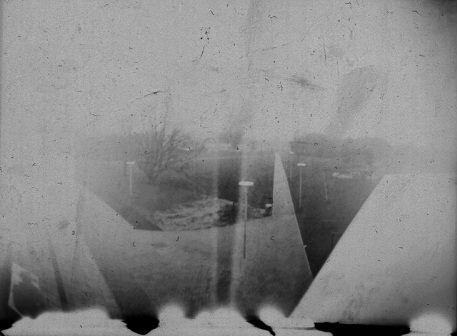
The process of creating the images was a difficult one which needed lots of time and patience. In my case I needed mountains of patience as the majority of the images i made turned out pure black because of over exposure due to a number of things. At first my pinhole was too large so I had to repeat step 4 ensuring that I used only the tip of the pin. After that I found the best exposure time for my camera and got a couple of good images that day which are the first two images below. On the second lesson the weather wasn't great and the sunlight was limited so this meant that once again I spent almost an hour finding the right exposure time, but once I found it I made a couple more successful images. I really enjoyed making images using a pinhole camera because you could never quite be sure that the image was going to work or if it would turn out well. If I were to do it I again I will attempt to create some pinhole images inspired by Mabel Oddessey.
|
|
|

|
|

|
|
|
